
Hi! Below you will find detailed instructions for building a mini cruise ship out of LEGO pieces. You can buy a kit containing all the pieces you'll need at yoretown.etsy.com. This kit/build was designed by me (Molly Patton.) Thanks for visiting!
* * * * *
We're going to start with the bottom of the ship and go up. I'll refer to the levels of the ship as layers.
LAYER #1
Take one red 1x8 plate and one red 1x3 plate and place them beside each other, like so:

Eventually they'll touch, but you get the idea. That'll be the bottom of the ship.
LAYER #2
Take this piece, a black 1x1 slope:

And snap it on here:

Then take this piece:

And add it here:

Now take this piece:

And place it here:

Finally, gather these three pieces (1x1, 1x2, and 1x3 black plates).

And stack them, smallest first. (Think: inverted stairs.)


Place those three pieces, stacked as so, on the last bit of red plate. Now your ship should look like this:

LAYER #3
The first piece you'll need in this layer is a white 1x2 jumper plate:

There are 8 of these in the set, but for now you just need one. Place it here:

Next, grab a white 1x1 tile:

And place it next to the jumper plate, like this:

Next up you will need a yellow1x2 tile:

Which you'll put here:

Follow that up with a yellow 1x2 jumper plate:
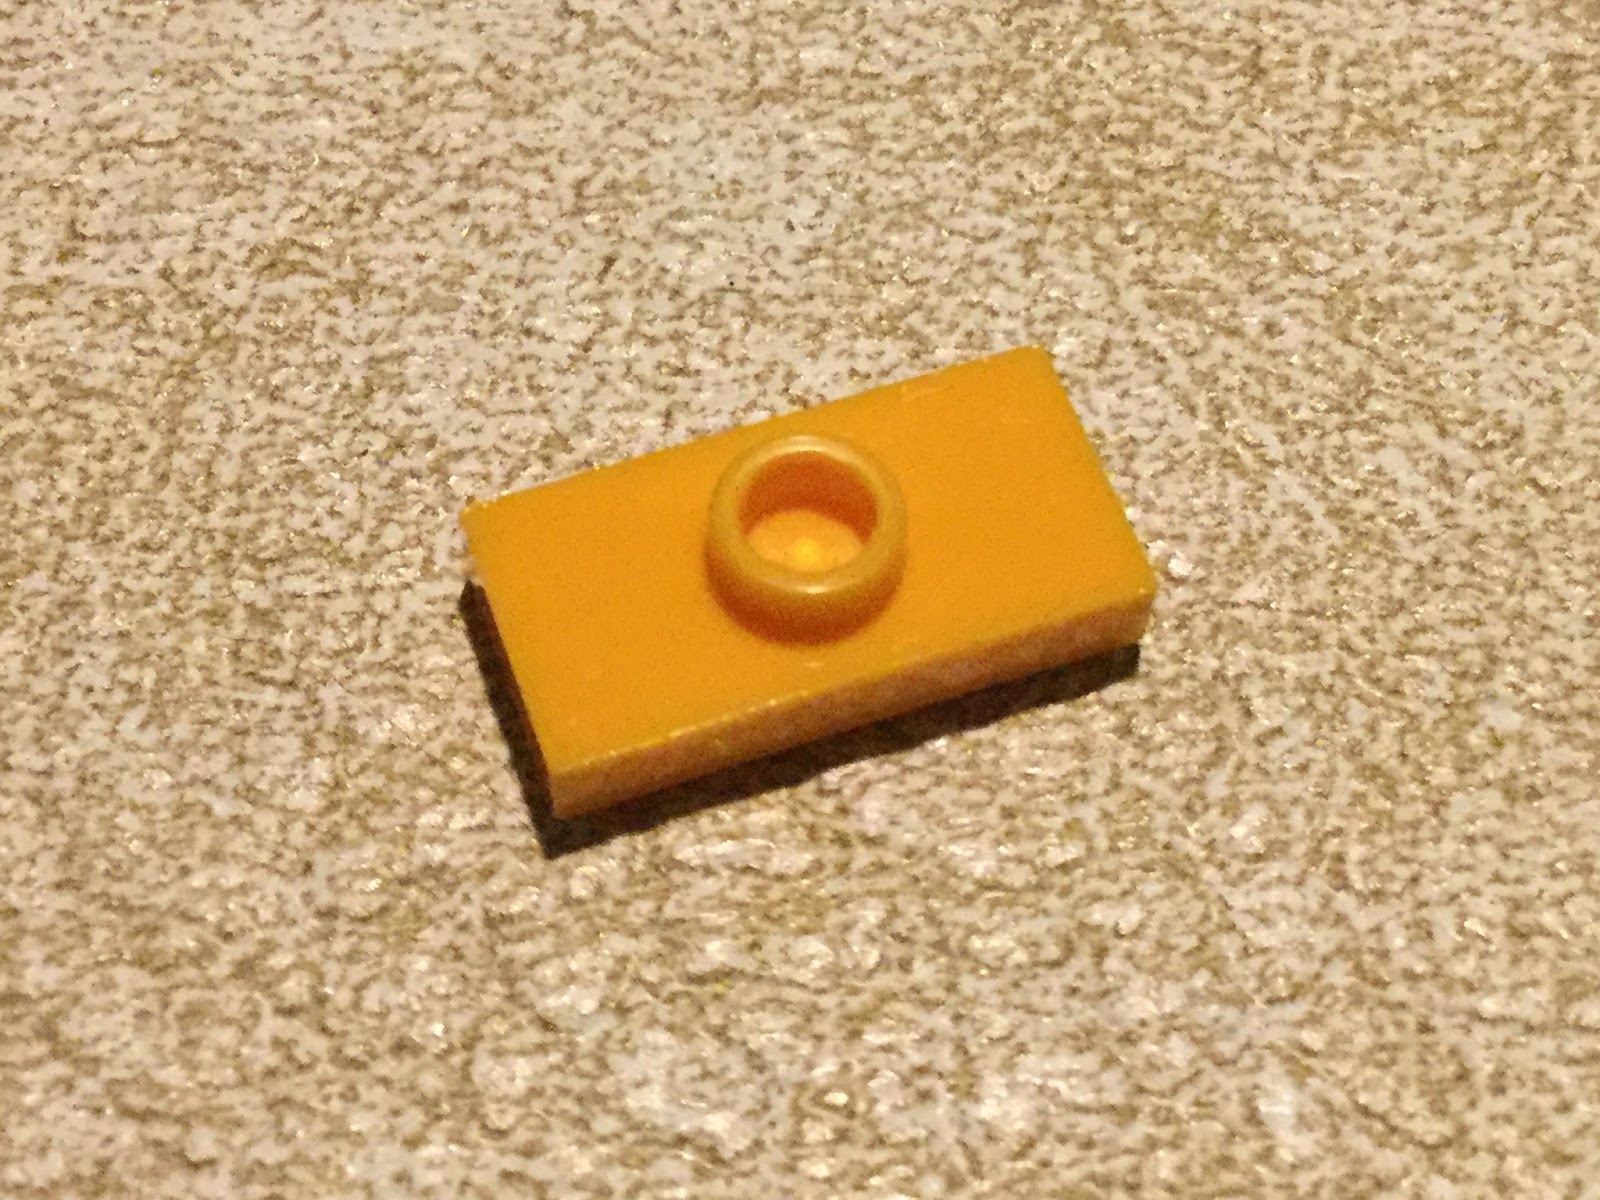
And here it goes:

Then grab a yellow 1x1 plate:

And place it just like this:

Now it's time for another one of these white 1x2 jumper plates:
Make a nice "yellow tile/plate sandwich," there:

Finally, add a white 1x2 tile:

That'll go on the far right:

LAYER #4:
Grab FOUR white 1x2 jumper plates:
Snap the first one on, like so:

It's a little offset from the one below it, but that's how it should be!
Then simply rest/place the 2nd jumper plate next to the first one. This piece won't snap on yet, but don't worry. It will soon.

The third one WILL snap on:

So will the fourth:

Finally, add a white 1x1 slope:


Now the fourth layer is done!
LAYER #5:
First you'll need a white 1x2 tile:
Place it here:

Then get a white 1x3 plate:

Do you remember that piece in the last layer that was just resting, but not snapped in place? This 1x3 plate will go on top of that one, hooking the pieces together at last.

Time for another white 1x2 jumper plate:
Here it goes:

You'll see a gap on the right, but that's intentional. This gap is supposed to represent the window of the bridge of the ship.
LAYER #6
First, grab your 8th and final white 1x2 jumper plate:
And place it:

Then grab a white 1x1 plate...

And attach it next to the jumper plate, as shown:

Lastly, pick up a white 1x4 plate:

And attach it here:

Here is another view of how the ship should look at this point. You're almost there!

LAYER #7:
Start off by taking a white 1x1 plate and two red 1x1 cylinders:

And place them as shown:

Then take a white 1x1 tile:
And place it next to the cylinder on the right:

Last of all, add two black 1x1 round studs to the top of your smokestacks:


Ta-da! Your mini cruise ship is now complete!
* * * * * * * * * * * * * *
If you have any questions or suggestions for how to improve these instructions, please leave a comment!
Happy building!